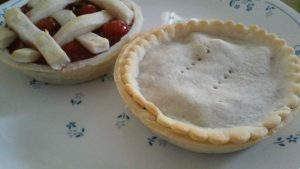
This week it was…Pi Day! That’s right, the celebration of the famous mathematical constant, and of course, pie.
So I decided, to try my hand at pie-making, but the thought of a fail at a huge pie no one would want to eat scared me. Instead, I opted to try making miniature pies, that way I can try different fillings, experiment with different ‘looks’ and bake them faster!
However, I also did not feel like making my own crust from scratch….so how do I go about making mini pies without a crust? Store bought crust to the rescue! Yes, I know I cheated, but it was definitely worth it. It’s pretty much springtime now, and I wanted more time to enjoy the beautiful sun outside, so yeah I used pre-made crust.
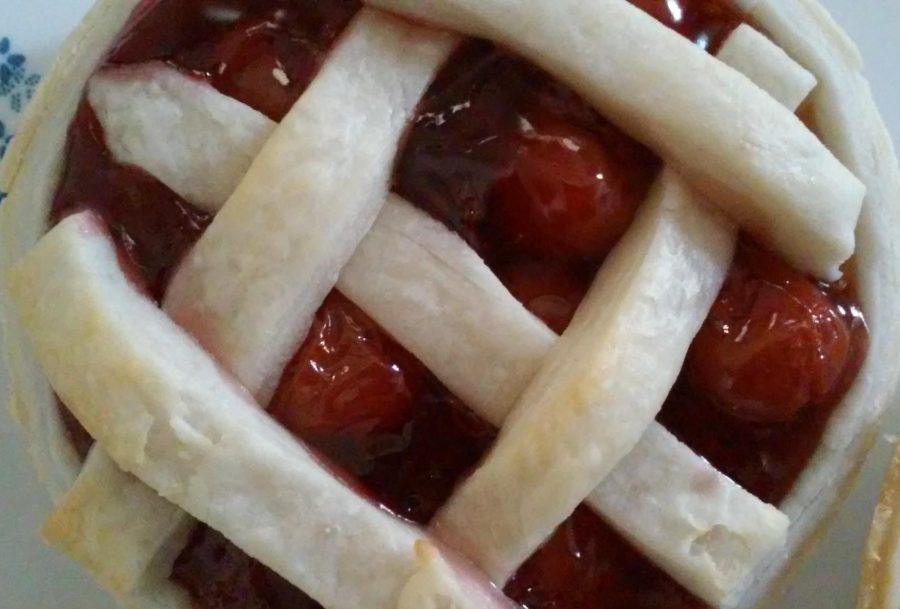
Basically, I browsed around for pie ideas on Pinterest, and wanted to try some fruit fillings for my spring pies. I chose apple pie and cherry pie. Although, I dislike cherries, they weren’t bad in pie form since the red color peeking through looks gorgeous!
Alright, so I had some mini pie tins to use, about 3-4 inches in diameter. If you don’t have mini ones, you can also use muffin tins! You can either cut crust to fill the whole cavity, or only halfway, depending on how thick/deep you want your pie to be.
I also bought the unbaked crust, my box had two rolled up crusts in it. I rolled them out and placed my tin on it, open side down. I traced around the tin with a sharp knife to get the exact size I would need to line my tin with crust. If you want a plain top, trace two circles so you have one to place on top at the end.
Don’t forget to grease the inside with either oil or butter, and sprinkle some flour, which also helps make it very easy to remove the pie at the end. Then, place your crust circle inside the tin and gently pat it into place so as not to tear it.
The next step would be to fill in the fillings you want (recipe below) and place your top crust, or leave it open. Place either your top crust (and poke holes with a fork) or create a lattice design. All you have to do is cut a bunch of strips the same size (use a pizza cutter to make it easier), and decide how open you want your lattice to be. I wanted my filling to show through, so I used only five strips.
The technique for doing this is placing some of your strips one way, and folding them back about halfway. Then, place the remaining strips going the opposite way. What you want to do is weave these strips through the ones you folded back first, alternating the strips either above or below them, and there you have your lattice pattern. For a completely closed lattice, it’s easier to weave them together on your cutting board first, then cutting it to the size of your tin. I used three strips one way, and two the other.

Apple filling recipe courtesy: http://www.sprinklesomesugar.com/mini-apple-pies/
Ingredients:
- 5 cups peeled, cored, chopped Granny Smith Apples
- 1 Tbl lemon juice
- ½ cup brown sugar
- ½ cup granulated sugar
- ¼ cup cornstarch
- 1 ½ tsp cinnamon
- ¼ tsp nutmeg
- Pinch salt
- 2 cups water
- 1 egg beaten for egg wash
Instructions:
- Preheat oven to 425 degrees. (for both muffin sized and mini pie tins)
- After peeling, coring, and chopping apples, toss in lemon juice.
- Combine sugars, cornstarch, cinnamon, nutmeg, salt, and water in a saucepan. Stir to combine. Bring the mixture to a gentle boil and cook for 3 minutes. Stir occasionally to keep it from burning. Once the mixture slightly thickens, add in the apples.
- Bring to a gentle boil again, and then reduce heat to keep the mixture simmering for about 10 minutes until the apples are tender.
- Fill your pie crusts, top with the crust, and brush on the egg wash. Sprinkle with some sugar (optional) and bake for about 15-17 minutes.

